Vectorial tools
Introduction
Views are the gvSIG documents used as the working area of cartographic information.
A view can contain different layers of geographic information (hydrography, transport infrastructures, administrative regions, contour lines, etc.).
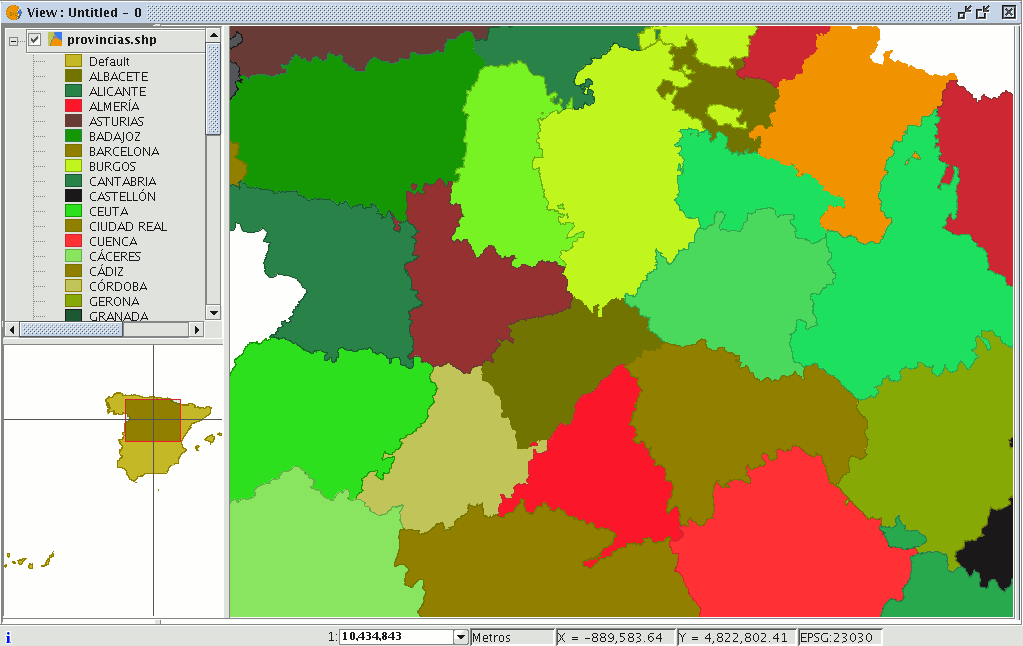
When one of the views that make up a project is opened, a new window appears divided into the following parts:
Table of contents (ToC): The ToC is located on the left-hand side of the window. The Table of Contents lists all the layers it contains and the symbols used to represent the elements which make up the layer.
Display window: The display window is located on the right-hand side of the screen. The project’s cartographic data are shown in this display window.
Locator: The locator is situated in the bottom left-hand corner. The locator allows the current frame to be situated in the work area as a whole.
When a view is opened, the main window increases the number of menus and buttons, thus adding the tools required to work with the elements which make up the view.
The size of the ToC can be enlarged to show a full description of all the themes by simply dragging its edge to the right or downwards.
Layer properties
Introduction
You can access the active layer's properties from its contextual menu (right click on the layer).
General properties
Right click on the selected layer in the ToC to access the properties window.
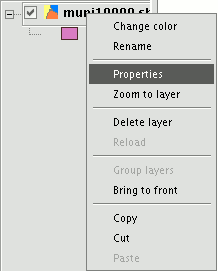
When you click on the “Properties” option, a new dialogue box opens. This can be used to edit some properties.

The layer name can be changed by writing the new name in the text field in the “General” tab.
If you wish to rename the selected layer, right click on the layer and go to the "Rename" option.
A new window appears:
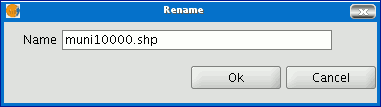
Write the new name in the text field and click on “Ok”.
N.B.: When you do this, the layer name changes in the ToC, but the file name is not changed.
If you mark the “Use spatial index” check box, a spatial index will be created which makes the layer loaded in the view appear more quickly. This is because the view is loaded using this index.
If there are write permissions, a .qix file is created with the same name as the layer it is associated with in the layer’s original directory. If there are no write permissions, the file will be created in the user’s temporary file directory.
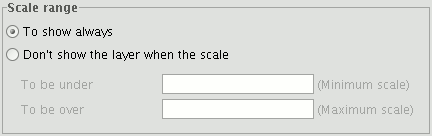
A viewing scale range (maximum and minimum) can be set in the properties window.
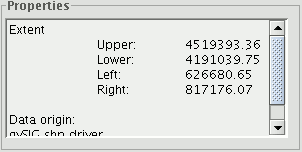
The file extension and path are shown in the actual properties section.